Basic Soapmaking: Melt and Pour
Recently I have taken up a new hobby of soap making. I purchased some homemade soap the weekend Taylor and I got engaged from a little shop in Julian and it smelled so good. It also felt really nice on my skin. I wanted to buy more but found that it can be pricey, so naturally I thought I would make my own.
While researching how to make soap I encountered a couple ways to do it. With lye or without lye. The soap making process with the lye sounded a bit scary to me since you can actually cause an explosion if you don’t mix things right, you have to use it in a well ventilated area and you can burn yourself. This kind of pushed me away from this method. Maybe I will try it someday down the road. The second way of making soap, without using lye, is buying melt-and-pour bases that you can just add your oils, fragrances, colors or any other additives you might want in. This method is quick and easy. In this post I will walk you step by step through a melt and pour process.
First off, you need to pick out a melt and pour soap recipe. You can find tons of them online and on Pinterest. I have a board full of them on my Pinterest that you are welcome to check out.
https://www.pinterest.com/pinupchick88/soaps-bath-bombs-sugar-scrubs/
The soap I am making in this tutorial is Honey Oatmeal with a Shea Butter Base.
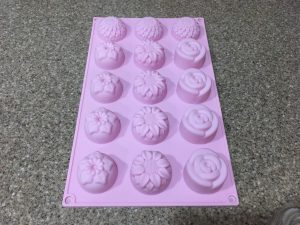
Next, you need to decide what kind of mold you are going to use to make your soap. You can buy a long square container to make a big batch of square bars or you can buy cute shaped molds. I am using a flower shaped mold because I am making soaps as a takeaway gift for a tea party I am hosting in June for the church ladies. I thought the ladies would enjoy these.
After deciding on a mold, you need to collect the ingredients for your recipe. My recipe calls for:
1/2 pound of either a Shea Butter base or a Goats Milk base
2 tablespoons of honey
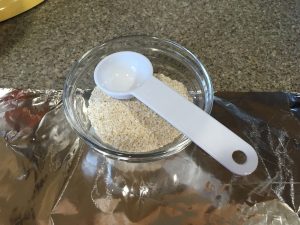
2 tablespoons of ground oats
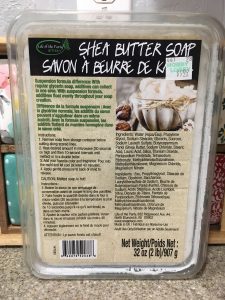
The melt-and-pour soap bases can be purchased at Michael’s or Hobby Lobby and come with a pound of base. This recipe only calls for a half a pound, so you can either double the ingredients and use the whole thing or save the other half for a different soap you would want to make.
Next you need a few tools to help you through this process. I bought mine either from Saver’s or Dollar Tree.
-A microwave safe container big enough to hold a pound of melt and pour soap. (Savers)
-A large spoon or spatula. (Dollar Tree)
-A set of measuring cups and spoons. (Dollar Tree)
-A large measuring cup. (Dollar Tree)
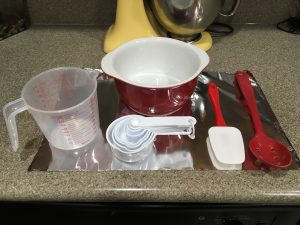
You don’t need both a spoon and a spatula. I had the spoon first, but thought a spatula would be more helpful. It is easier to get every last drop of soap out of the container with the spatula.
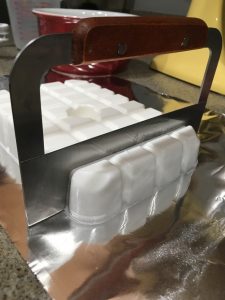
Another tool that will come in handy is a soap cutter. They come with a straight edge or a wavy one. For this project I will be using the straight edge one. You don’t have to purchase one of these to cut your soap, but it makes a nice straight cut and it’s easy to use. I am sure you can come up with other tools to cut your soap if you don’t want to purchase one.

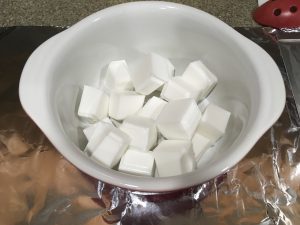
Now that we have everything we need to work on this project, we start by cutting the soap base into cubes so it will melt down easier and fit in our container.

Take the cubes and throw them into your microwave safe container.
Pop your container into the microwave and set the time for 15-20 seconds. When the time is up, take the container out and stir the contents with the spatula. The cubes wont be super melty at this point, but it is good to stir them so they don’t stick in the same spots and burn. You also don’t want to put them in the microwave for anything longer than 20 seconds at a time or you can burn your soap.
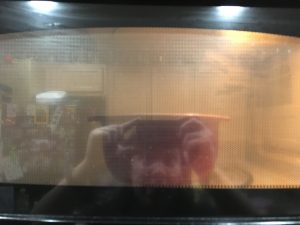
Repeat this process until all the soap has melted down to a liquid state.
Now this is the point where you start to put your ingredients in. I first added the crushed oats.
Then I added the honey.
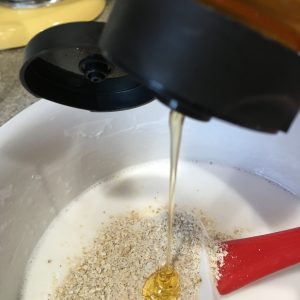
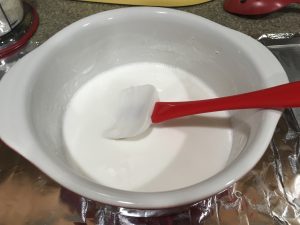
Once both ingredients are in, I mix it all up really well.
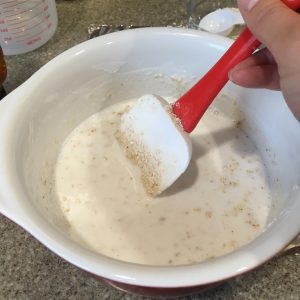
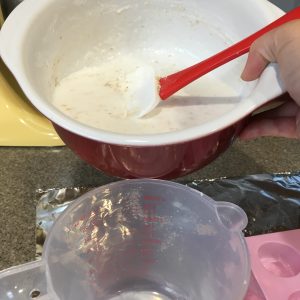
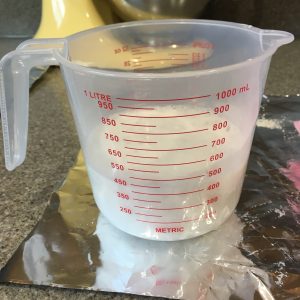
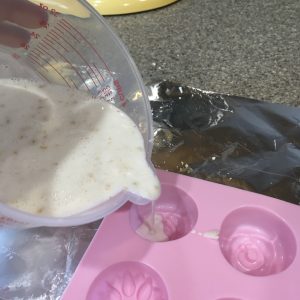
After it is all mixed in evenly, I pour the soap mix into my big measuring cup. This makes it easier for me to pour the mixture into my small molds.
Then I begin to pour the mixture into the soap mold. Be very careful to not pour too much or you end up with a mess.
Once you have poured all the mixture into your molds, you just let them set overnight to harden up. When you check them out the next day, they should be hard and ready to take out of the mold.
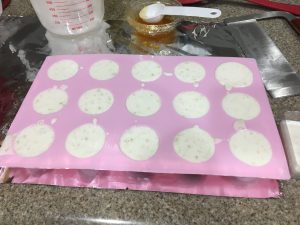
All you do is gently push the soap out of the mold. The mold is a flexible silicon to aid with removing whatever you put inside it.
Voilá! You have your soaps!

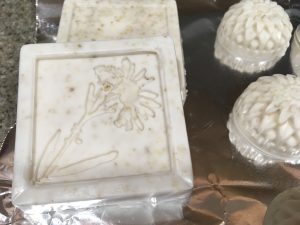
These make great gifts for all occasions, they smell great and they are easy to make. I usually find some cute little bags to put the shaped soaps in or some pretty paper and ribbon to wrap the bars in.
When it comes to cleaning your tools, usually the remnants of soap on the tools harden and are sort of a rubbery layer you can peel right off the tools. For any stubborn spots, just fill the containers with hot water, place your tools in and let them sit overnight. It is much easier to clean off the next day.
So now you know how to make your own batch of soap! It really is a lot of fun to do. There are so many different recipes and combinations you can make. Get inventive and have fun!